Burning Man is not a place to arrive with a loose packing list and improvise the rest. Black Rock City asks you to manage heat, dust, wind, cold nights, distance, food, water, light, and all of your waste without assuming a store, a campmate, or the event will rescue an unfinished plan. The useful order is simple: water, shelter and shade, dust protection, light, food, warmth, first aid, and a pack-out plan. Costumes come after that.
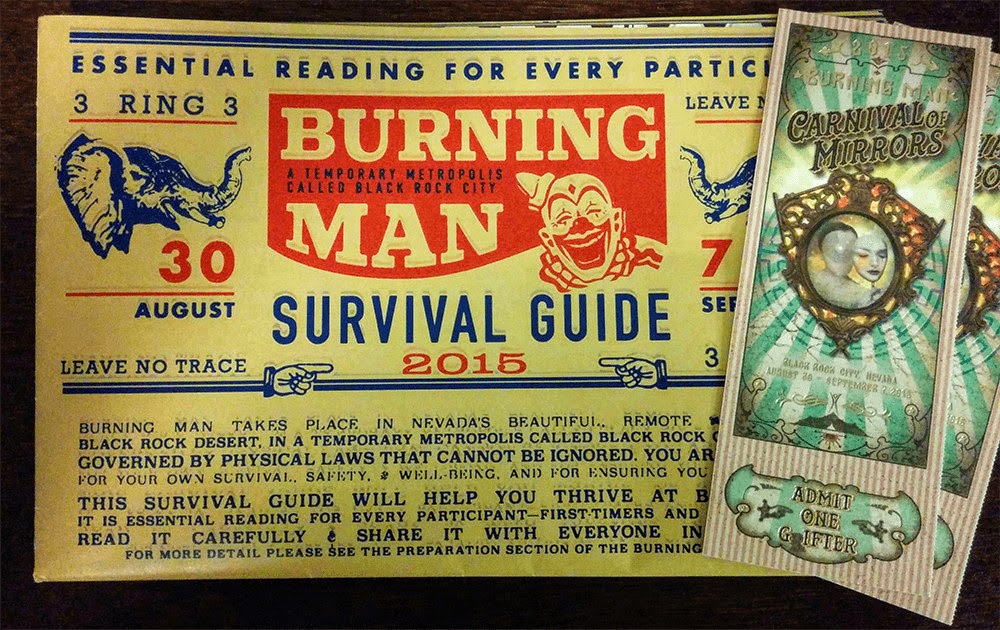
For 2026, the official Survival Guide calls for at least 1.5 gallons of water per person per day for drinking, washing, and cleaning. Treat that as the floor for your personal plan, not a calculation to game. Bring a large camp container, a separate bottle that stays with you, and a clearly labeled way to contain gray water. A rigid Reliance Aqua-Tainer is the basic camp-water pick; a Petzl ACTIK CORE headlamp is the reliable night-safety pick; and a well-fitting pair of goggles plus a particulate mask is the dust kit that deserves a real test at home.
This guide is about durable gear decisions and preparation. It does not replace the current official Survival Guide, current event notices, your camp’s logistics, medical advice, or manufacturer instructions. Read the official requirements close to departure: weather, road conditions, entry rules, and site operations can change.
Quick packing decisions
| Problem | Useful buy | Why it earns space | What it does not solve |
|---|---|---|---|
| Camp water storage | Reliance 7-gallon Aqua-Tainer | Rigid container, handle, and spigot make a water station easier to use. | You still need a personal bottle and a backup plan for a leak or broken spigot. |
| Dust in eyes and face | Pyramex I-Force goggles plus a 3M 8511 N95 | A dedicated eye-and-particle pairing is more useful than fashion goggles and a loose scarf. | Fit matters; try the two together before you travel. |
| Walking and camp tasks after dark | Petzl ACTIK CORE headlamp | Hands-free light, rechargeable battery, and a familiar outdoor-light format. | A headlamp is not enough lighting for a bike or for making your body visible. |
| Keeping wet trash contained | Rubbermaid BRUTE container with lid | A sturdy lidded bin makes odor and loose trash easier to manage. | Everything in it still leaves with you. |
Build the plan before you buy the gear
Start with a written division of responsibility. If you are in a camp, decide who brings shade parts, tie-downs, water, cooking equipment, trash containers, tools, first aid, bike lights, and teardown supplies. “The camp has that” is not a plan until one person has confirmed the item, its quantity, and where it is packed. If you are going alone, pare the setup down until you can erect it, secure it, live with it, and pack it out yourself.
Set up your shelter at home. Run the power system, fill a water container, put on the goggles and mask with a hat, load the bike lights, and practice locating your headlamp in the dark. This catches missing adapters, leaky spigots, incompatible clips, and a canopy panel that becomes a sail before you are on an exposed lakebed. Do not buy a complicated shelter because a product page uses words like “windproof.” Follow its instructions, use suitable anchors, and choose a smaller, stronger setup over a field of loose fabric.
Pack in clear categories. One bin for medical and hygiene supplies, one for lighting and power, one for food, one for repair gear, and one for Leave No Trace supplies makes a dusty camp easier to run. Label both sides with a marker or painter’s tape. Dust turns similar dark bags into a frustrating scavenger hunt.
Water comes first, then gray water
The official 1.5-gallon-per-person-per-day guideline includes drinking, washing, and cleaning. Count days conservatively, include travel delays, and calculate your own camp plan before sharing spare water with anyone else. A Reliance Aqua-Tainer is a sensible inexpensive camp container because its rigid body, integrated handle, and spigot are easier to use than a pile of disposable bottles. It is not indestructible. Fill and test it at home, protect the spigot in transit, and keep the container shaded and clean.
Use at least two formats. The large container is camp supply; a labeled reusable bottle is the one you carry whenever you leave. A smaller reserve container gives you options if a cap cracks, a spigot fails, or your camp needs to split up. Do not rely on a cooler, a communal tank, or someone else’s kitchen as your only source. The water you can reach is the water that counts.
Gray water is its own logistics problem. Any water mixed with soap, food, toothpaste, or other material needs to be contained and taken away; it does not belong on the playa. Put a clearly different label on the gray-water container. A wide-mouth jug or a lidded bucket is often easier to fill than a narrow water bottle. Keep it physically separate from drinking water. Build your dishwashing routine around as little water and food residue as possible, and clean cookware at home before you travel if that reduces the volume you need to manage.
Water containers are also useful in an emergency-preparedness plan at home, but the packing priorities differ. Our water-storage guide covers household formats and rotation; here, portability, spigot protection, labels, and pack-out capacity matter more.
Shelter and shade should be rehearsed, not imagined
A tent is a sleeping enclosure. It is not automatically a complete desert shelter plan. You need shade, a ground setup that you can keep tidy, secure attachment points, warm bedding for a cold night, and enough room to keep water, clean clothing, and dust-sensitive items from becoming a pile on the floor. Set it up once at home with the people who will use it. Pack the parts in the order you will need them.
Use proper anchors and tie-downs as specified for your structures, make every ground anchor visible, and count every stake, rebar piece, bolt, and tool on the way in and out. Loose or forgotten ground hardware can injure people, damage tires, and become Matter Out Of Place (MOOP). A reusable gear-tie assortment is handy for bundling loose items and securing small cables, but it is not a substitute for the load-rated hardware a shelter requires.
Keep bedding in a closed bag or bin when you leave camp. Bring a sleep system suited to a cold night, dry socks, a warm layer, and a hat. The afternoon may make a thick sleeping bag look absurd; the middle of the night is the wrong time to discover you packed for a different climate. A wide, stable shade structure can also make ordinary meals, hydration, and rest much more manageable, but it needs attention before and during wind.
Dust kit: protect eyes first, then make the mask fit
Dust gets into eyes, food, bedding, zippers, electronics, and every gap in a casual setup. Carry eye and face protection where you can reach it. Do not leave it at camp under a costume bag. A pair of Pyramex I-Force goggles is a practical starting point because it is a purpose-built protective style with a foam seal and adjustable strap. Make sure the exact model, your prescription eyewear, and your mask work together for your face. If goggles fog constantly at home, find a different combination before the trip.
For particulates, a 3M 8511 N95 respirator is a more considered option than treating a bandana as equivalent protection. Check the exact manufacturer instructions and fit guidance, and do not use a damaged, wet, or dirty respirator. A mask is only helpful if it is wearable enough that you will put it on. Bring spares in a sealed bag, along with a simple cleaning cloth and backup vision supplies if you normally use contacts or glasses.
When conditions worsen, simplify. Get to shelter if you can, protect eyes and face, secure loose items early, and do not try to navigate through near-zero visibility just to keep an itinerary. Do not drive into unsafe or wet conditions. No shopping list replaces paying attention to the event’s current safety directions.
Light yourself, your bike, and your camp without creating trash
A headlamp solves practical close-range problems: finding a zipper, using a restroom, checking a tie-down, or locating a water bottle without occupying a hand. The Petzl ACTIK CORE is a good pick for this role because it is a familiar outdoor headlamp with a rechargeable battery system and a simple form factor. Bring the appropriate charging cable and a basic backup light. Your most powerful headlamp setting is not a personality; use the amount of light that lets you see without blasting everyone nearby.
A headlamp does not make a moving bike visible from all directions. Use dedicated front and rear bike lights, reflective elements where they help, and body lighting that remains attached as you ride. The Cygolite Metro/Hotshot set is a sensible type of front-and-rear system to compare because it separates the jobs. Check mounts on your actual handlebars and seatpost, bring a charging plan, and use a backup clip light when a failed mount would leave you invisible.
Avoid building a lighting scheme around disposable glow sticks. They create immediate trash and are easy to drop. Rechargeable or battery LED strings can be useful only when their batteries, cables, clips, and ties are accounted for. Secure every piece. Light that falls off a bike or costume is still MOOP. For more ordinary outdoor and emergency lighting choices, see our rechargeable flashlight guide.
Food, medication, and a first-aid kit should be boringly reliable
Bring food you recognize, can store safely, can prepare with your actual camp equipment, and will still want to eat when tired. Pre-portion at home into reusable containers where reasonable; bringing less packaging in means bringing less trash out. Perishable food needs a genuine cooler-and-ice plan, not a hope that someone will make an ice run. Our cooler guide can help with the hardware decision, but the important part here is your daily routine: keep the cooler closed, know who is responsible for ice, and do not create food waste you cannot manage.
Pack personal medications in their original containers and carry enough for the trip plus reasonable travel-delay slack. Store them clean, dry, and out of heat where appropriate. An “extensive first-aid kit” does not mean a tactical bag full of equipment no one understands. A well-organized Adventure Medical Kit can be a good base for cuts, blisters, and simple mishaps, but tailor it to the group, read the contents before leaving, and carry the personal supplies you know how to use. Know where the event’s official medical services are before there is an emergency.
Sun protection is not one bottle of sunscreen. Bring sunscreen, sunglasses, a hat, light long-sleeved coverage, shade breaks, water, and lip care. Keep small hygiene products secured so they do not blow away. A portable ashtray or metal tin with a tight lid is essential for anyone who smokes; cigarette butts are not tiny enough to ignore in a Leave No Trace environment.
Leave No Trace starts while you are still at home
There are no trash cans in Black Rock City. You bring it in, and you take it out. That includes food scraps, packaging, broken decorations, cable ties, bottle caps, cigarette butts, damaged bikes, and the tiny fragments people are tempted to call insignificant. Avoid items that shed glitter, feathers, sequins, cheap fabric fibers, or disposable plastic. Remove unnecessary packaging at home. Choose reusable containers, keep a pocket MOOP bag with you, and secure trash before wind finds it.
A Rubbermaid BRUTE container with a lid is a solid camp-trash format for groups because it keeps wet trash more manageable and will not collapse like a loose contractor bag. It adds bulk and still needs to be secured, loaded, and removed, so solo travelers may be better served by smaller lidded containers inside their vehicle. Keep recyclables, dry trash, and wet trash organized only if that organization makes your actual exit plan easier.
Do not put trash, wipes, food, bottles, or anything other than permitted human waste and toilet paper into porta-potties. Do not dump gray water. Do not abandon bikes, furniture, or surplus camp gear. Before departure, do repeated line sweeps of your site. Walk shoulder to shoulder, scan for tiny pieces, look under tarps and vehicles, and count the stakes and parts you brought. The exit plan is part of the trip, not a chore after it.
Things that look useful but usually create trouble
Skip untested elaborate shelters, loose decorations, single-use lighting, fragile glass, novelty items that shed material, and food plans that require a kitchen you have not used before. Skip a single giant water container with no personal bottle or reserve. Skip relying on another camp’s power, ice, or supplies without an explicit agreement. Skip treating the event as a place to learn how every new piece of gear works.
Also skip the idea that a purchase can make a risky choice safe. Goggles do not make a dust storm an invitation to ride. A bigger power bank does not make overloaded wiring sensible. A first-aid kit does not turn medical uncertainty into a DIY project. The best packing list creates a margin for ordinary problems and leaves room to follow the current rules when conditions change.
How we researched this guide
We reviewed current Burning Man Project survival and Leave No Trace guidance, including the 2026 water recommendation, personal survival checklist, dust guidance, lighting expectations, gray-water handling, and pack-out responsibilities. We checked current manufacturer details for the example gear, including container formats, protective equipment, lighting, and lidded storage. We did not attend the event to test these items, and this guide does not make wind, medical, or safety guarantees. Check the current official guide and each product’s instructions before departure.
Questions before you load the car
How much water should I bring?
Plan for at least 1.5 gallons per person per day as the official 2026 baseline, then account for your days on site, personal needs, camp duties, and a sensible delay buffer. Keep camp water, carry water, and gray-water containers separate and labeled.
Can I count on my camp for shade, food, and power?
Only if the camp has confirmed the plan, the person responsible, the quantities, and the setup. Bring enough personal essentials to remain safe if a shared system is delayed, smaller than expected, or unavailable.
What is the simplest good first purchase?
Start with water capacity and a personal bottle. Next make your dust kit, lighting, shelter, and waste plan usable. A reliable self-reliance setup is more valuable than any decorative upgrade you can buy later.
Pack for the difficult version of the week. Bring enough water, keep your shelter and lighting functional, wear eye and dust protection you have already tried, and take every last thing back out with you. Once those jobs are covered, the rest of the packing list gets much easier and your exit plan stays intact.